Painting over rendered walls can indeed survive harsh weather—if you get the prep, materials, and timing right. Many homeowners see peeling, cracks or swelling after rain and blame poor paint, but often the root cause lies in moisture, weak adhesion or surface flaws. By combining proper moisture control, compatible paint and smart technique, your walls can remain durable and good-looking. This article explores how to make that happen in real‑world conditions.
Why does paint often fail on newly rendered walls?
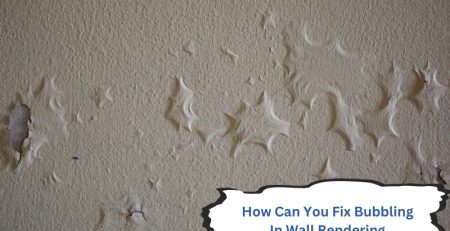
One big reason paint fails on newly rendered walls is that the render hasn’t settled or cured enough for strong bonding. When you apply paint too early, residual moisture or salts underneath will push the finish off. Additionally, fine dust or loose particles on the surface can interfere with adhesion. Over time, that leads to bubbling, flaking, or patches that peel off. To prevent these issues, it’s crucial to understand how to properly prepare your walls before painting so your render has the best chance of lasting through every season. Here are the major failure triggers on fresh render:
- Insufficient curing time, especially under 28 days, leaves moisture in the structure and weakens adhesion.
- Salt migration (efflorescence) rising from the substrate can lift paint from below.
- Surface dust, debris or weak mortar particles prevent full contact between paint and render.
- Using non‑breathable or low‑quality paint traps moisture that then drives damage from behind.
Understanding these issues lets you pause and address them before the final paint goes on.
What hidden issues can cause cracks before painting begins?
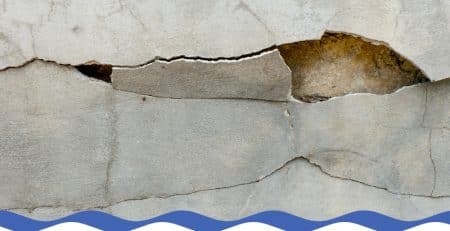
Beyond surface flaws, cracks often form from movement, improper mix design or uneven drying—things you might not spot until colour goes on. All of these undermine the bond between paint and wall, making your finish weak from the start. Here are common unseen causes of cracks in render:
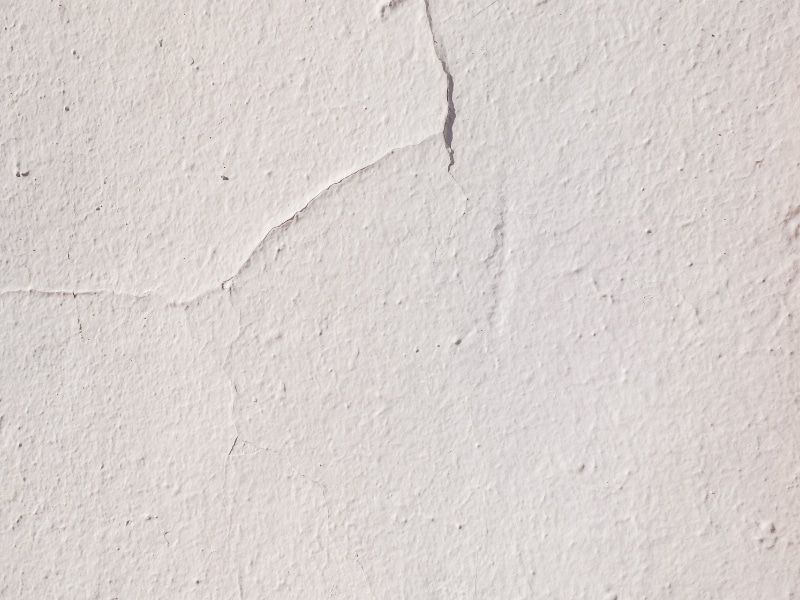
- Ground movement, soil shifting or settling foundations create microstresses in the wall.
- Rich cement mixes with low sand content lead to shrinkage cracks while drying.
- Variable render thickness (thicker in some spots, thinner in others) sets up internal tension.
- Strong sun, wind or heat during drying can shrink the surface faster than the inner layers, triggering shrinkage cracks.
To reduce risks, it helps to know how to paint rendered walls effectively before you start. That way, you catch and reinforce trouble spots ahead of time.
How moisture affects the success of painting over rendered walls
If moisture gets into your rendered wall, it can wreck your paint job: adhesion fails, coatings bubble, or mould grows. Even tiny damp pockets hidden beneath can expand under the sun or collapse under the rain. And in variable climates, moisture variation is a constant threat. Here are the moisture factors that wreck attempts:
- Trapped water below the render, or in cracks, is pushing paint off from beneath.
- Rising damp from foundations or inadequate drainage saturates the base of exterior walls.
- High ambient humidity (especially near coastlines) slows drying and keeps surfaces damp longer.
- Sealing with non‑breathable paint locks in moisture, turning the wall into a pressure cooker.
Understanding what to know before rendering any wall surface helps you design wall systems that manage moisture before you even open your brush.
Which preparation steps ensure that painting over rendered walls lasts longer?
Long‑lasting paint over render depends heavily on prep. Skipping steps or cutting corners is asking for failure. Instead, a methodical approach gives you a fighting chance against weather and time. Here are the steps to prepare rendered walls properly:
- Apply a masonry primer or sealer that’s compatible with both the render and the paint you’ll use.
- Wash thoroughly to remove dust, salts, mould or any loose matter that interferes with adhesion.
- Patch and reinforce all cracks or defects using a flexible, exterior‑grade filler or render touch mix.
- Wait for at least 48 hours of dry weather before and after painting so everything bonds correctly.
In Sydney’s coastal environment, for example, that extra drying window is critical. The right prep is part of why clients ask to discover reliable solutions for painting over rendered walls in Sydney rather than risk a DIY disaster.
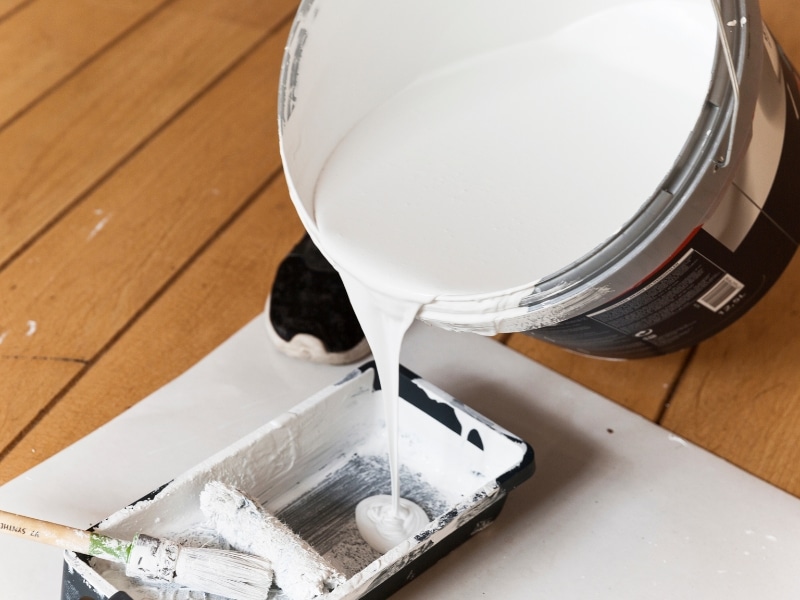
What paint should you use when painting over rendered walls?
Choosing the right paint is almost as important as doing all the prep. A mismatch here means everything else might fail. You want paints that allow the wall to flex, breathe, and resist UV, rain, and temperature swings. Here are the good choices for rendered surfaces:
- Elastomeric paints can stretch and contract with wall movement, sealing small hairline cracks.
- Silicate or mineral paints bond into the render and allow moisture vapour to escape.
- Acrylic masonry paints offer some flexibility and weather resistance, suitable in many suburban climates.
- UV‑resistant and anti‑fade additives help maintain the colour and surface strength under harsh sun.
Pairing the right paint with the correct substrate care reduces the need for constant touch‑ups. Also, consider effective ways to maintain exterior wall render for ongoing upkeep after your paint job.
| Paint Type | Breathability | Flexibility | Best Use Case |
| Silicate/Mineral | High | Low | Older buildings, damp walls |
| Elastomeric | Moderate | High | Walls with cracks or movement |
| Acrylic masonry | Moderate | Moderate | General suburban exteriors |
| Limewash | Very High | Low | Eco or heritage properties |
How professionals protect rendered walls from harsh weather damage
Pros go beyond just painting; they build in resilience. They time their work, use sealing systems, and layer in protection so that wind, rain and sun don’t undo their efforts. That’s how they deliver finishes that last for years rather than months. Here are the strategies used by professionals:
- Use breathable, weatherproof paint systems that resist UV, wind and rain while allowing moisture escape.
- Seal junctions, windows, doors and edges carefully to avoid penetration points for water.
- Select rollers, brushes and tools suited to textured surfaces so no thin or missed patches appear.
- Apply multiple coats with enough drying time between each to build strength in depth.
It’s not a race. Doing it right takes patience and judgment, not just tools.
Final thoughts
Painting over rendered walls demands more care than most realise, but when you combine smart prep, suitable paint, and weather‑aware technique, the results can last through seasons. Walls that resist peeling, cracking or moisture damage don’t happen by luck—they’re built with intention. For proven outcomes, you might want to explore how Jims Rendering Sydney improves rendered wall finishes.